Overview
If you're not already using basic compositing techniques in the post-processing of your stock photos and videos start now.
With relatively simple compositing techniques you can turn a good image into a great image or turn a great image into a top-seller, increasing both the appeal of your images and the sales of your stock portfolio.
Common Scenario
Let’s assume you have a great landscape image captured in mid-day sun. The subject and composition are good, possibly great, but the washed-out sky is flat and uninteresting, which is unlikely to make a compelling image for your stock image customers.
With basic compositing skills you can replace the the dull sky of your landscape with the sky from another of your images which has more clouds, better contrast or deeper colors.
In the example below, we’ll combine images from two separate eclipses to create a more compelling composite image.
Images and Intention
The first image was captured during a lunar eclipse (the last lunar eclipse in a set of (4) lunar eclipses that occurred between 2014 and 2015). The image of the moon itself is technically a good image, but because of the clear skies that evening, there's not much of interest in the image so it's not compelling or likely to generate many sales.
Lunar Eclipse
The second image was captured during a solar eclipse that occurred on August, 21st, 2017. The image was captured at around 1:30 PM in Austin, Texas, outside of the total eclipse zone. The image is interesting and produced great cloudscapes, but the image of the partially eclipsed sun felt small and lacked interest.
Solar Eclipse
Composite Image
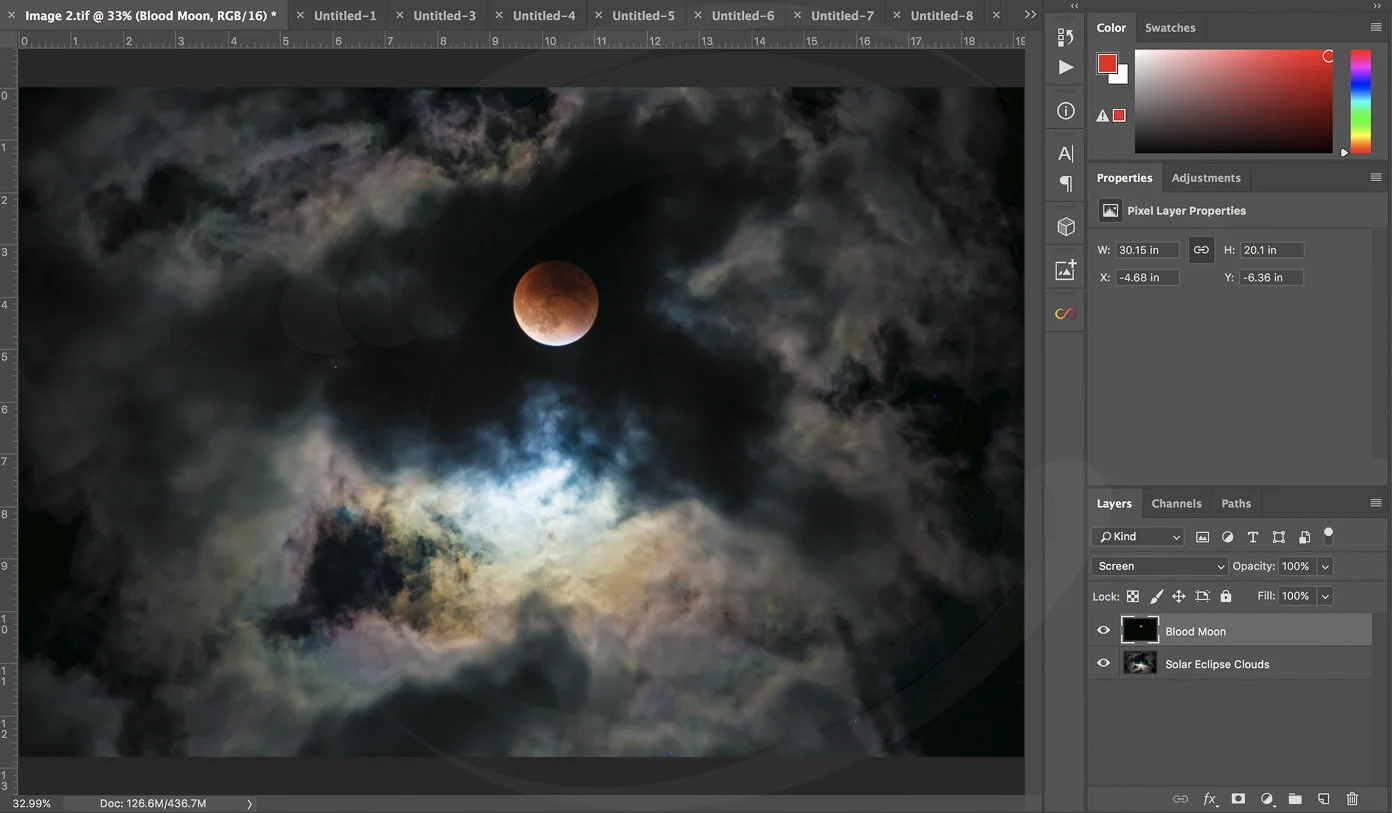
In combining the image of the moon from the lunar eclipse with the evocative cloudscapes of the solar eclipse we created a surreal composite image with significantly more visual interest and emotional impact than either of the images on their own…and in the process produced a more marketable stock image.
Process Overview
The following are the rough steps that we performed to create the final composite image you see above:
Opened each of the two images in a Photoshop and copied image 1 as a new layer into image 2.
Used Blending Modes to make the (2) layers appear as if they are a single image. In this case we used the ‘Screen’ blending mode.
Removed the image of the eclipsed sun from Image 2 using the Spot Healing Brush, so that only the eclipsed moon can be seen in the composite.
Resized and relocated the image of the moon so that it is unobscured from the clouds and appears much larger.
Finally, we added a star-field to the composite to give the final image a bit more character. It’s hard to see in this image, but it made a real difference in the final image. You can find numerous examples of how to add a star-field to an image on YouTube.


